Image Files Inhibit Flexibility Down the Road
We recently had a request to create a set of icons to represent various school subjects and activities for a local school district. Instead of trying to fit one of the many icon font families out there (such as Font Awesome or Glyphicons) to our project, we wanted to take a more custom route and create all of these icons as vector illustrations. The advantage to using vectors is that they are not only easy to implement for both clients and developers, but they allow for infinite scalability and easy CSS manipulations. Fortunately, a few tools have cropped up to help us take all of these vector images and automatically convert them to an icon font family of our own. This article will show you how to do that, as well as work with integrate these icons with existing content managers such as Drupal.

Fonts aren’t just for text anymore
Fontastic is a website that takes your uploaded SVG image files, converts and combines them all into a single font family, and then lets you download the custom font with some example CSS to get you started. Oh yeah, and it’s free!
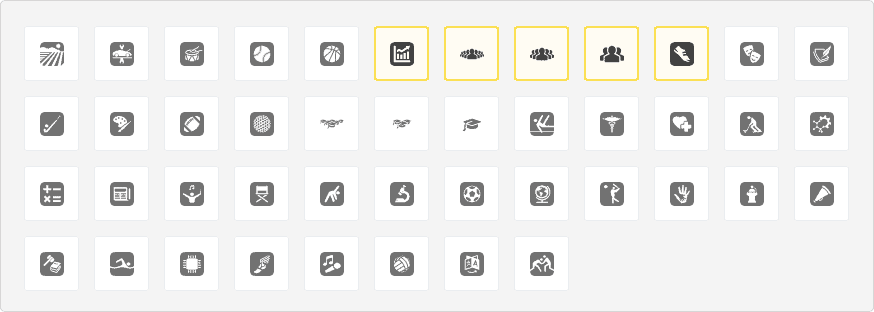
The process for creating the icon font is pretty simple. Make sure your vector images are compound paths and free of any unnecessary anchor points. The idea is for these image files to be as “light” as possible, so it’s really important to upload nice, clean vectors. Once you’ve uploaded your SVG icons under ‘Add More Icons’ on Fontastic, you can select the icons you would like to convert to a font, customize the icon’s class name and character mapping, then publish. The publish function downloads a folder with all of the necessary files to integrate the custom font to your project with complete cross-browser compatibility.
![]()
Putting the Icon Font System to Work
The best way to get these icons displaying in your project is to start by including the ‘styles’ stylesheet from the newly downloaded Fontastic files. It includes a font-face rule that is optimized for browsers all the way down to the most frustrating versions of Internet Explorer. Include this stylesheet in your project and you’re ready to go.
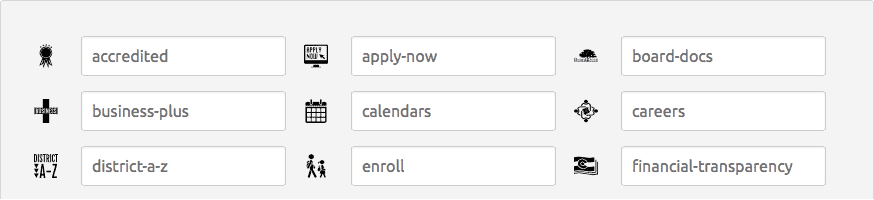
Perhaps the most familiar way to implement this custom font is by adding classes to <i> tags, much like how Font Awesome works. In our Fontastic example, we can pull up the ‘icons-reference.html’ file in our browser and see all of our icons paired with their associated CSS class name. By default, Fontastic requires an ‘icon’ class on the icon tag and then the custom class names are prefixed with ‘icon-’ like so:
<i class=”icon icon-apply-now”></i>
That’s it! Fontastic includes all the needed base CSS in the ‘styles.css’ file so from here, feel free to get started theming them to match the existing design of the project.
Implementing these icons can be taken a step further by integrating them with a CMS such as Drupal. In order to achieve this, download the Icon module for Drupal which allows users to do things such as select an icon for a custom field and set an icon to a menu link. The module also provides an API that is simple to work with. The custom module hooks into several calls that:
- Makes the Icon module aware of our added custom set of icons
- Sets a prefix to be used by default. ‘icon-’ in the case of Fontastic’s default settings
- Assigns our custom classes to the icon names. Since a less technical client of ours might be updating these themselves, we opted to set the name to be the same as CSS class so the process could be as copy-and-pastable as possible
An example Drupal module
Once this is all set and the module is installed and enabled, our custom set of icons will now be visible wherever the Icon module is used.
Another benefit of using a font family for custom icons is that it can be easily integrated with popular WYSIWYG editors so that users can simply select the font and type the corresponding letter to use the icons as they author content. We chose to work with CKEditor due to its strong feature set and ease of use for the client. Since the ‘styles.css’ stylesheet has already been included in the project, all that remains is letting our WYSIWYG editor know about the custom font we wish to use. In the case of CKEditor, we would add a config option to the editor like so:
config.font_names = 'Arial;Times New Roman;Verdana;Custom Icons/custom-icons';
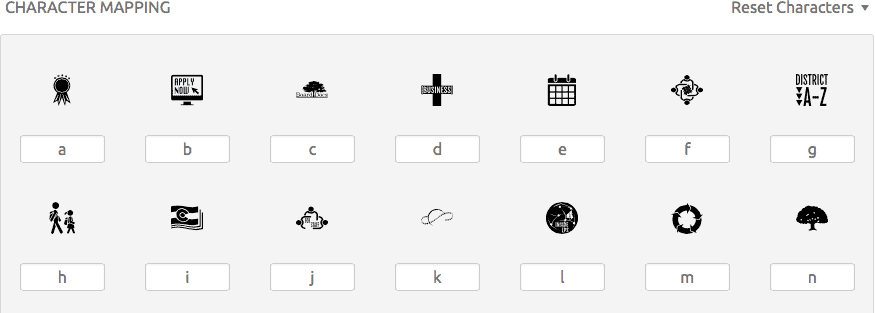
Above, we specify the display name that the user will see as “Custom Icons” and the font-family font name as ‘custom-icons.’ Adjust this based on the font name found in ‘styles.css.’ Now, using the previously mentioned icons-reference.html from Fontastic, we can set our font to ‘Custom Icons’ and hit the ‘b’ key to have the ‘Apply Now’ icon displayed as shown above.
Get More Mileage out of Your Custom Icons
An added benefit to creating an icon font is that you can provide the TTF file to your client so they can use the font to insert the custom icons into their other marketing materials. This allows them to make all their collateral consistent with their website.
It’s always nice when you can provide a benefit to a client they weren’t expecting. Using custom icon fonts provides some opportunities to do just that especially since adding them to an existing project could not be easier.